Adding rim light in Photoshop is important to enhance the overall image’s quality. One needs to create a new layer and, after that set the new layer to the ‘soft light’. Apply a soft brush for paint light on the borderline of the subject. Then adjust the layer opacity level, and blend modes correctly to get a natural outlook.

What Is Rim Lighting?
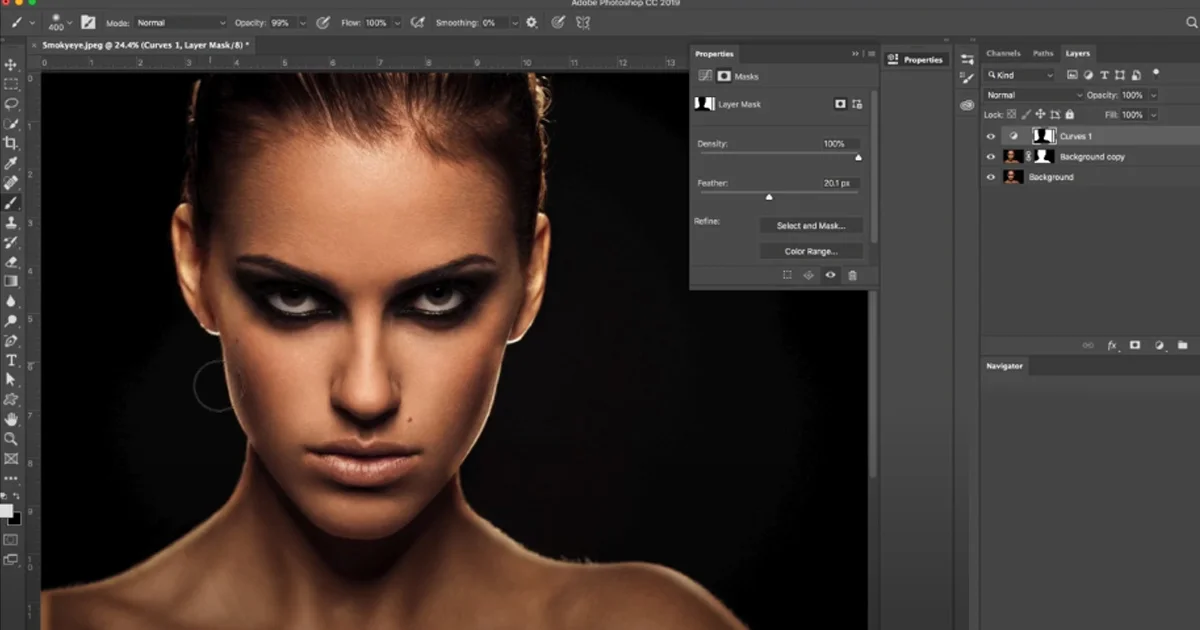
Rim lighting is a photographic technique for the experts. In this technique, photographers digitally add light effects on the subject’s edges to highlight it. It looks like the light is coming from the side or behind the subject. It makes the image glossy and makes a clear contrast between the background and the subjects. And offers an aesthetic image with a 3D modeling-type look. Also, it doesn’t lose its quality when you zoom any particular part of the image. It removes the harshness from the images too, and makes the images more attractive.
How to Add Rim Light in Photoshop
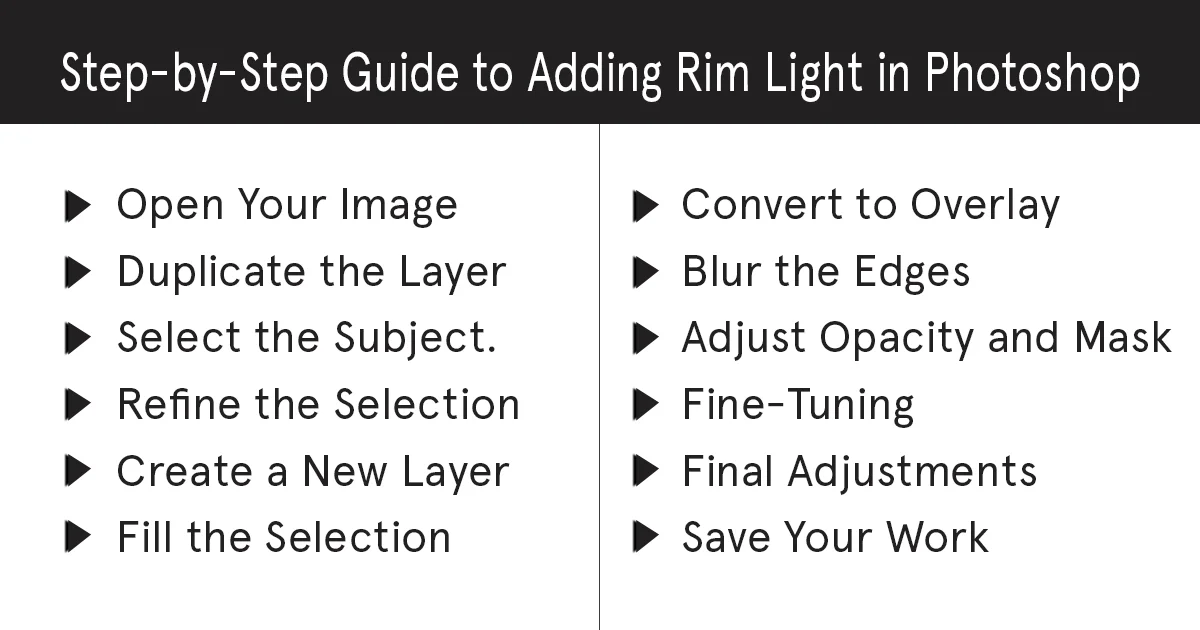
You can add rim light in Photoshop by following multiple steps including duplicating the layer, creating a new layer, blurring the edges, and more. Rim Light in Photoshop is used vastly in the 3D product modeling services to meet the criteria of the clients. Below are the guidelines you can consider:

Step-by-Step Guideline to Add Rim Light in Photoshop:
Open Your Image
First, open Photoshop on your computer after that, open the image from the ‘File’ option. In the file option, you will see the ‘open and select file’ option. Click on that and select the image you want to edit.
Duplicate the Layer
To keep the original version of the image for future needs, duplicate the background layer. Select the layer and press ‘Ctrl + J’ in your window device for duplicating the background. And in your Mac device press Cmd+ J.
Select the Subject
After duplicating the background select your subject. You can use the quick selection tool’ or the pen tool to select appropriately. Make sure you select all edges around the subject where you want to apply the rim light. If you don’t select the borderline perfectly you won’t get the standard output of the image.
Refine the Selection
In this step, refine the edges that you selected to make them smooth and sharp. Tap the Select button after that click ‘Select and mask’. Then adjust the settings by applying the refined edge brush tool to get a clean output.
Create a New Layer
Now you have to create a new layer. Click on the ‘New Layer’ icon at the top of the layers panel. Also, you can create a new layer directly by pressing Shift+ Ctrl+ N on your keyboard on a Windows device. In your Mac device Click Shift+ Cmd+ N.
Fill the Selection
Use a soft or white color in the selection area to fill it. Be careful that the color matches with the existing lighting in your image. Click the Edit button you will get the Fill section and select white from the contents dropdown section.
Convert to Overlay
Now convert the selection to overlay. You can change the blend mode and soft light of the new layer to blend the subject’s fill. After that create the rim light effect.
Blur the Edges
Blur the new layer, it will make the rim light effect soft and natural. Click the Filter option, then blur and apply the ‘Gaussian Blur’. You can adjust the radius to get the desired soft light.
Adjust Opacity and Mask
Now for controlling the intensity of the rim light adjust the opacity of the new layer. Further, you can add a layer mask if needed. Paint black on the mask with a soft brush to conceal the unnecessary areas of the rim light.
Fine-Tuning
After all the edits you made fine-tune them with the Eraser Tool. Like, you can use a soft brush to remove the extra light effects. Add more layers if needed.
Final Adjustments
Look at the overall image carefully and adjust any part like the color of the subjects. Adjust the contrast, and saturation level and ensure that the rim light blends smoothly with the image.
Save Your Work
Now save your work on your computer. Go to the File section and you will get the Save As option. Select a format that you prefer. And don’t forget to save a PSD file to keep all the layers for future edits. And for sharing the images use JPEG/PNG format.

Tips and Tricks for Better Results
Using Layer Masks Effectively
In Photoshop layer mask is considered a powerful tool. With a layer mask, you can control the appearance of each part of the layer without deleting the content forever. Try to apply a layer mask instead of the Eraser Tool. It will help you to modify the mask without losing the real content.
Also, apply a soft brush and low opacity to paint the mask. Zoom the full image and look for any imperfections, remove them to get a natural look with more details. You may consider getting help from the professionals who offer services like ‘Image masking services’.
Experimenting with Colors and Blending Modes
Try different types of colors and blending modes. It will help you to change the outlook of rim light dramatically. Though, white is the most popular color for the rim light, don’t be afraid to experiment with other colors. You can apply a warm color or cool color that suits your image. There are a lot of warm colors that compliment your image nicely if you add them in the rim light.
You can apply different layer styles such as Inner glow or outer glow. It will add more depth to your rim light.
Combining Rim Light with Other Effects
To improve the total look of the image try to combine the rim light with other effects. Such as Vignettes, Lens Flare, Highlights, and Shadows. Vignettes in the border line of the image will highlight the picture more, especially the main elements of the image. Lens Flare will add dramatic effects and provide aesthetic vibes. Highlights and Shadows are important for visualization of the important part of the subject. Precisely select the effects so that it doesn’t conflict with the rim light. Try to keep the effects at a moderate level to blend it with rim light accurately.
Conclusion
To sum up, adding rim light in Photoshop will help you to visualize the image perfectly. By applying the rim light with other effects and masks, you will get a professional 3D-looking image. Experiment with different techniques in adding rim light and utilize them in your images. You can’t imagine getting a sharper look in your 3D image without adding rim light. So try to experiment as much as you can to become an expert! Read more blogs about photography tips and photo editing check our latest blog post.


